My seed-starting set-up is pretty well equipped, which makes it a lot easier to manage the fairly aggressive seed-starting schedule I keep.
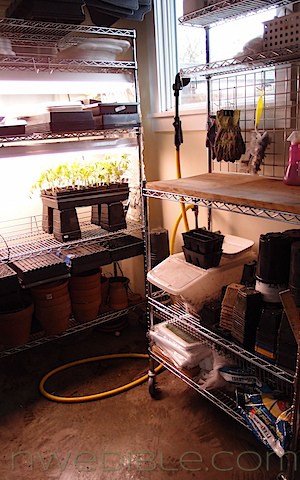
When we moved into our current home, I commandeered a corner of the garage as my indoor garden and seed-starting area. Having a dedicated area to grow out seedlings is a luxury, but one I would sacrifice quite a few other luxuries to maintain.
Seed Starting Rack
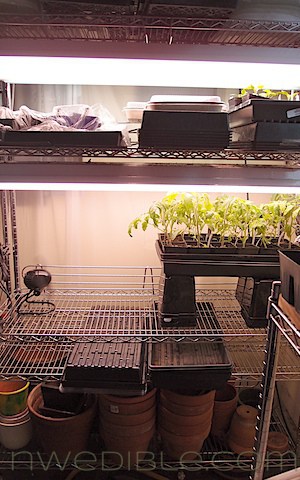
The rack that holds my seed lights is a standard industrial post-and wire chrome shelving rack. I swear by these racks, and we have them wall-to-wall in the garage. I bought this one at Costco for about $70. It’s 48″ wide, which makes it the perfect width for hanging 4-foot shop lights.
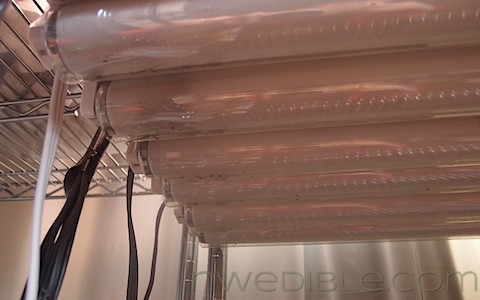
The rack has two layers of industrial shop lights fixtures (cheap) fitted with full-spectrum florescent light tubes (not cheap, but very long lasting).
Each shelf of lights is three-fixtures (or six tube lights) deep and holds two standard seed trays placed lengthwise with plenty of room and light, or 4 seed trays placed widthwise with some crowding and less light than is ideal towards the edges of the seed trays.The light fixtures come with a chain, and this chain is simply hung from the wire shelf above the lights.
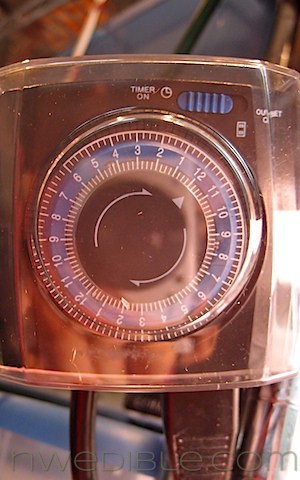
The lights are on automatic timers, but can be unplugged separately so I can run only one bank of lights at a time when seed-starting is just ramping up.
The lights are not conveniently adjustable, so I have a low-height light shelf and a high-height light shelf and I place risers (empty pots, seed trays, etc.) under and seeds I need to lift closer to the lights.

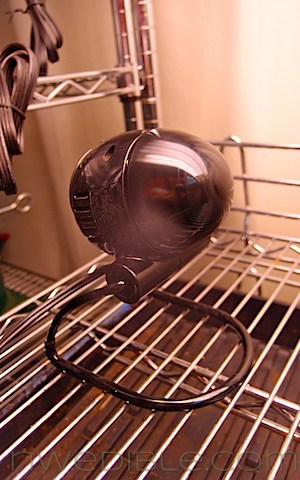
I believe strongly in keeping air-flow over and around my seedlings, and I have a small soft-bladed fan that I keep on constantly.
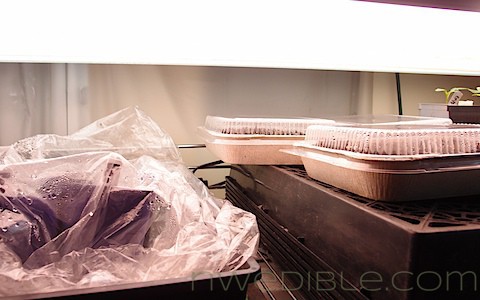
When I have seeds I am germinating, I cover their pots or trays with clear plastic bags (the ones from the dry cleaner are great) or propagation domes. The little trays with matching propagation domes on the right were originally take out containers from a local Mexican restaurant. The size and depth is perfect for geminating lettuce seeds. You gotta love repurposing like that.
I have two seedling heat mats. I use them to get tomatoes, peppers, squash and other heat lovers up and going. After strong germination I tend to move my seedlings off the mat because I prefer they grow harder, even if it means growing slower. The last thing I want to raise is a pepper that thinks it should expect 78-degree soil all the time!
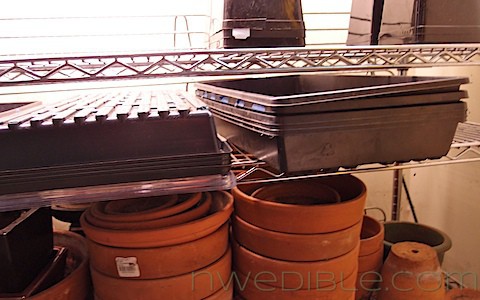
Under the seed-starting area, I have a few shelves that hold extra seed trays and the collection of cheap terracotta pots I never use but can’t bring myself to part with.
Potting Bench
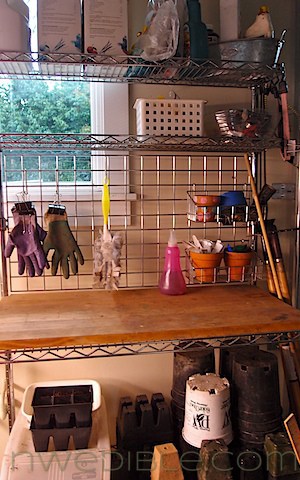
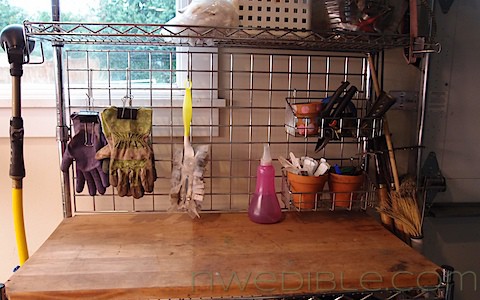
Cater-corner to the seed starting rack is my potting bench. We bought this post-and-wire rack from an organization store when we lived in our old home, and then it was the best kitchen storage we had. When we moved to our current home there wasn’t a place for it, until it I had a Potting Bench Ah-Hah! moment.
I use mini terracotta pots to contain seed labels, sharpies, small scissors for thinning seedlings and other random flotsam of gardening. Can I mention how much I love huge binder clips? I use them everywhere: to hold gloves together, to keep plastic low-tunnels secured to pvc-hoops in the garden, to hold string to trellises when I’m one-handed with a baby-on-my-hip and can’t reliably knot something, and so on. Since the potting bench gets dirty every time I use it, I added a little mini-duster-thing to the collection of tools I keep on hand. This makes it much easier to sweep spilled potting mix back into the potting mix bin.
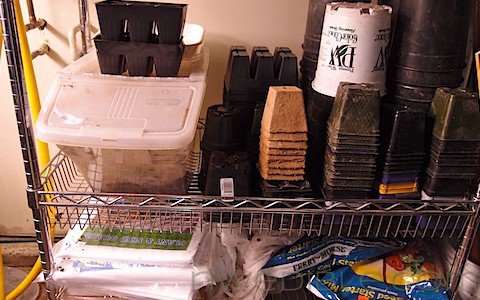
Under the bench area is a big shelf with my potting mix tub and all my commonly used pots stacked up. Beneath that I store Reemay and whatever random bags of seed mix, bone meal or whatever needs a place to live.
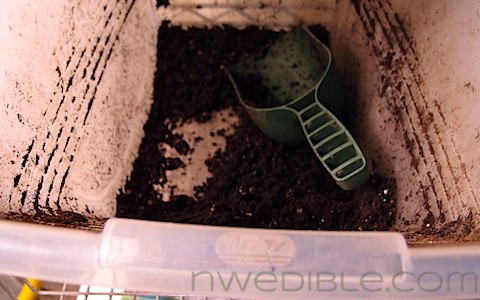
The potting mix tub gets refilled as needed. Right now, it needs it.
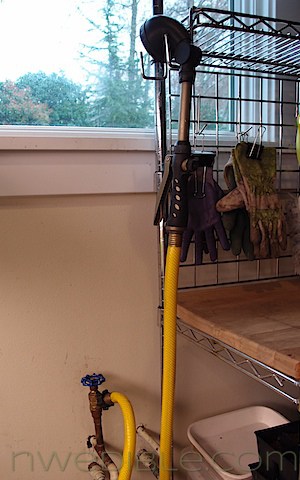
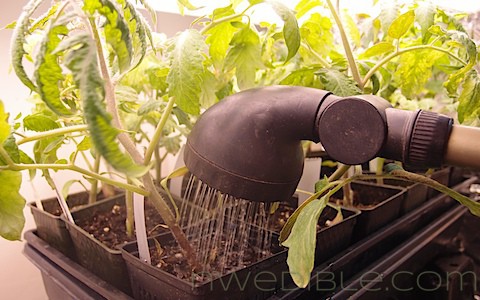
The best $50 I ever spent was paying a plumber to tap a hose bib into the wall between my seed starting rack and my potting bench. I keep a short hose fitted with a gentle spray head attached to the hose bib and hang it from my potting bench.
Watering seedlings is as simple as turning on the hose bib and either filling the seed-tray for bottom-watering (my preferred method) or pulling seedlings off the rack and giving them a gentle sprinkle. Since the floor of the garage is concrete and the excess water runs out the garage door, I don’t worry about overspray or dripping.
Speaking of dripping, I’ve had a lot of people ask if having the plants on the upper level drip into the lights directly below them is a problem. All I can say is, I am not particularly careful, water does drip, and it has never been a problem for me.
I love my little seed starting corner of the garage. Do you have a dedicated place to raise seedlings and perform your indoor gardening tasks? If you have a photo of your set-up, leave a link in the comments so we can all see how different gardeners organize their growing space.
